
Last updated November 16, 2026
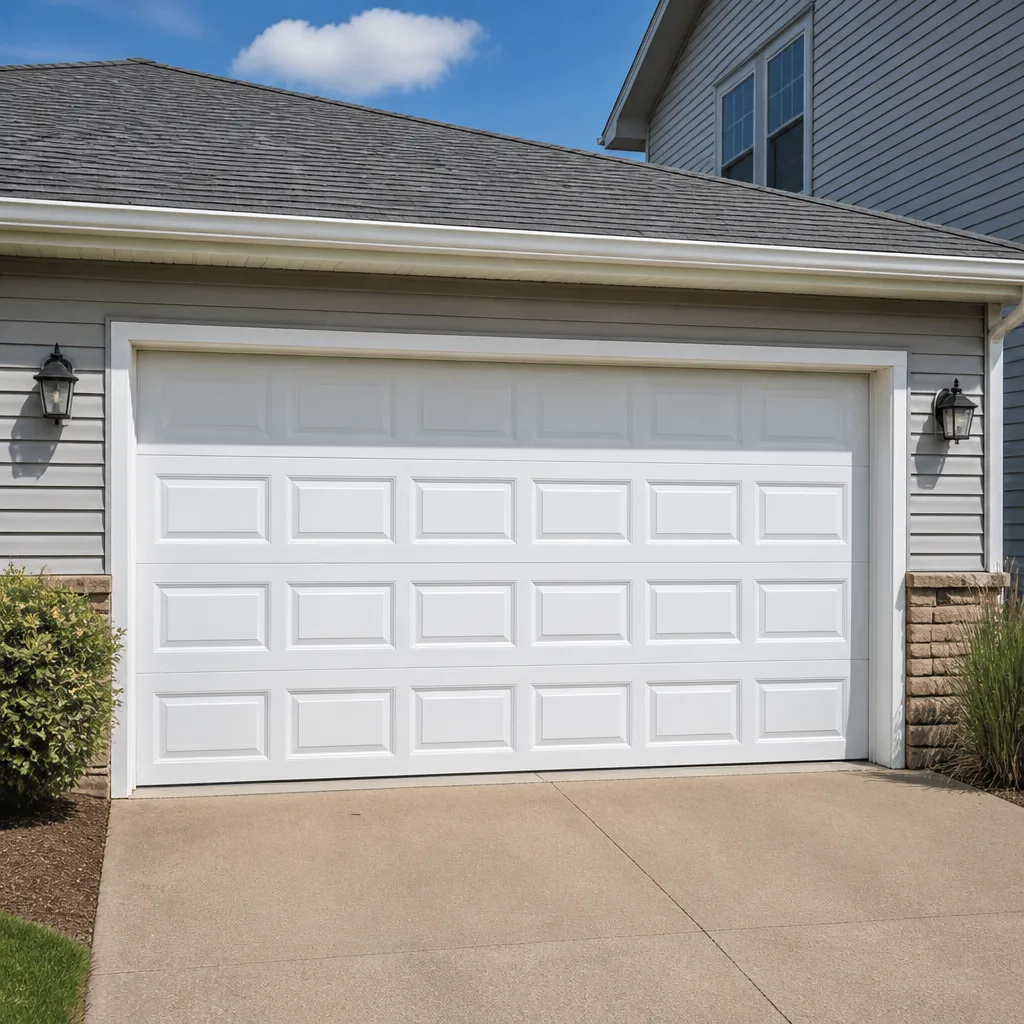 Raised-panel steel
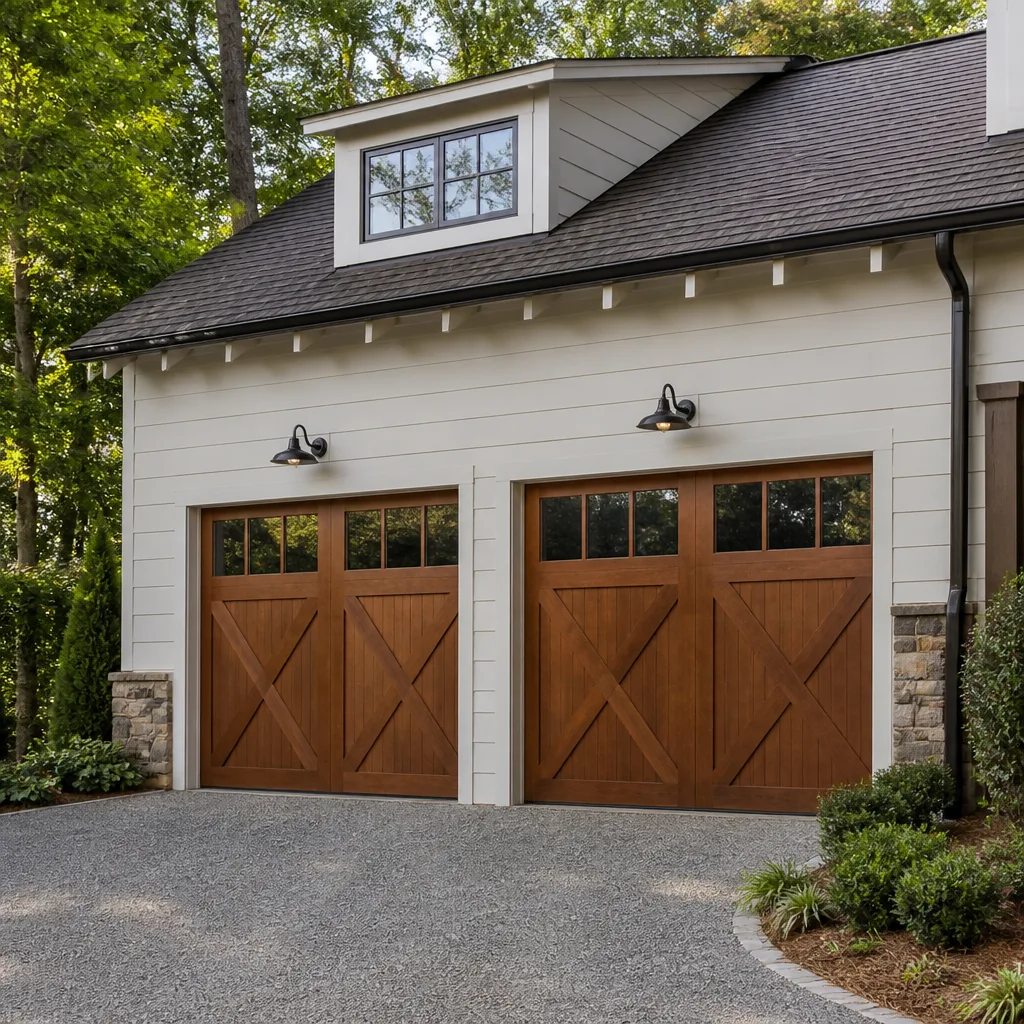 Carriage house
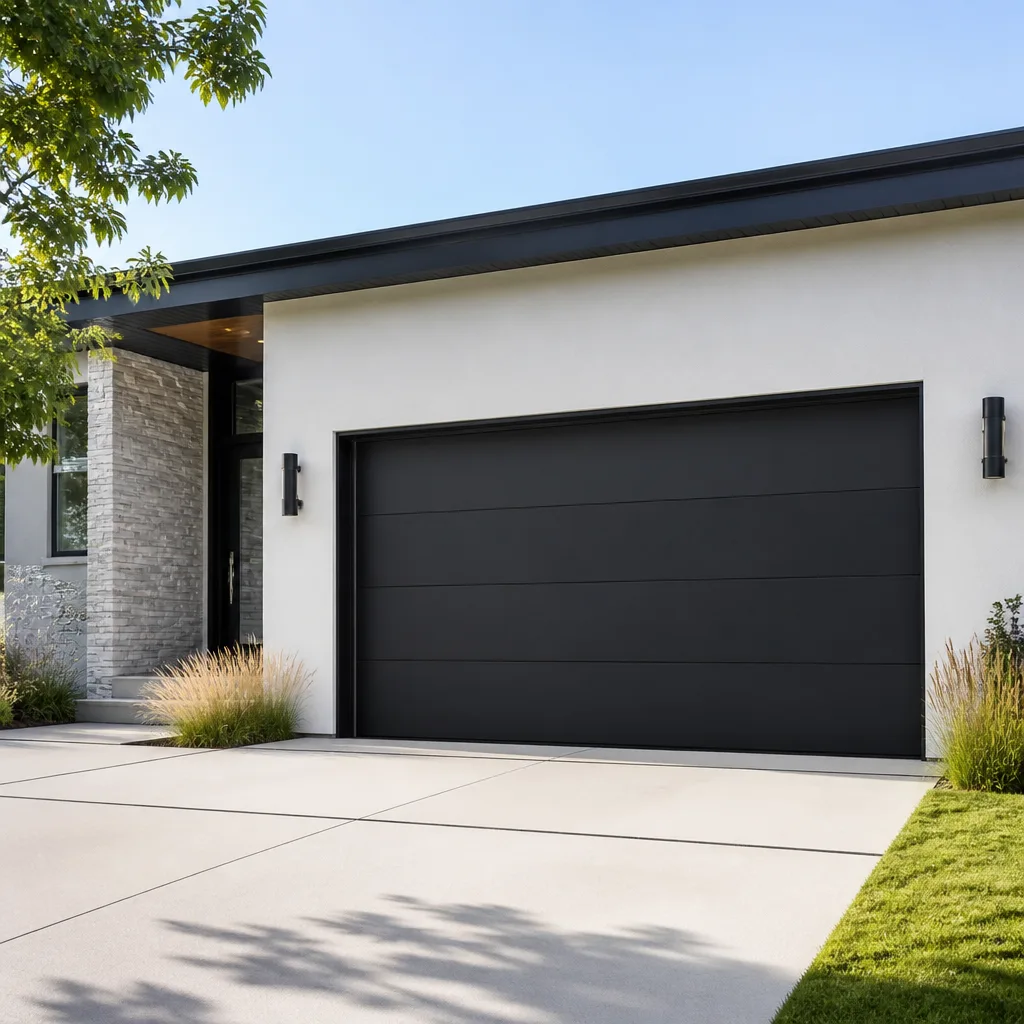 Modern flush
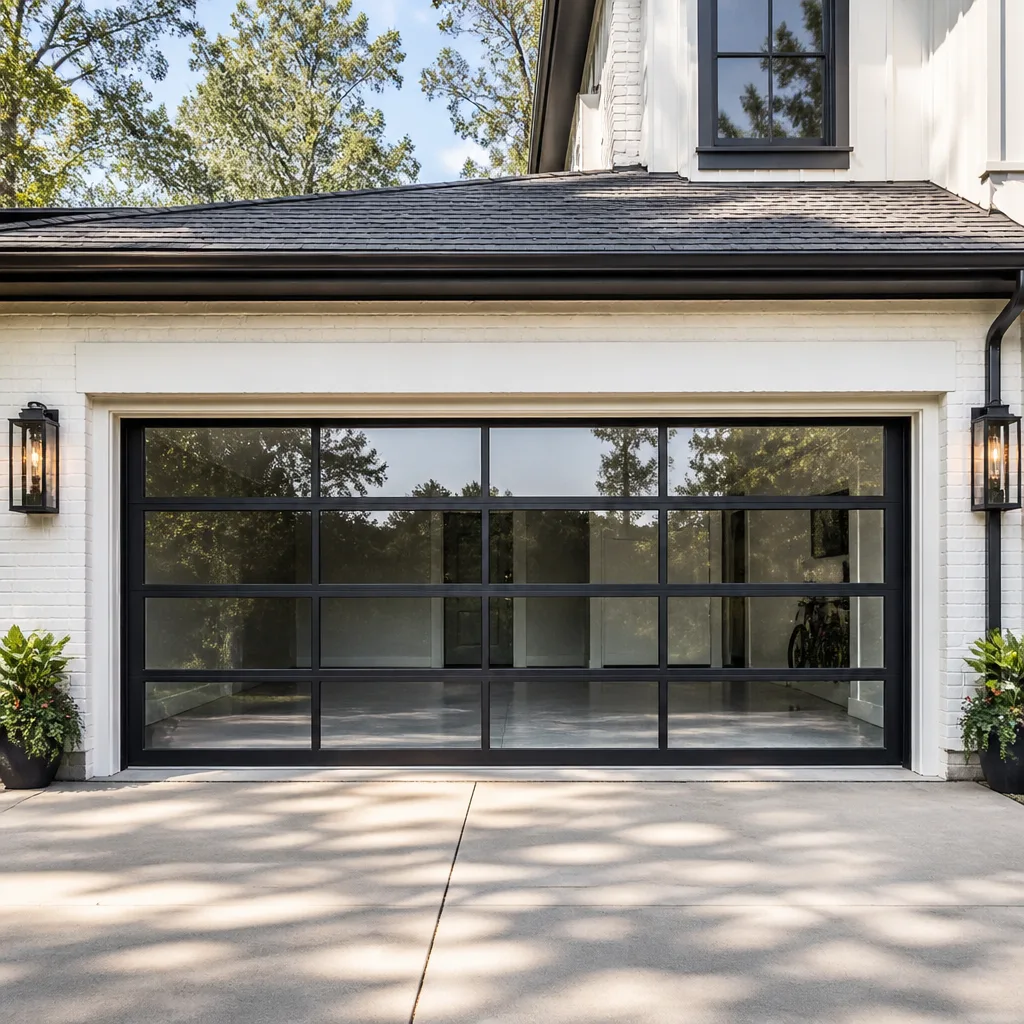 Full-view glass
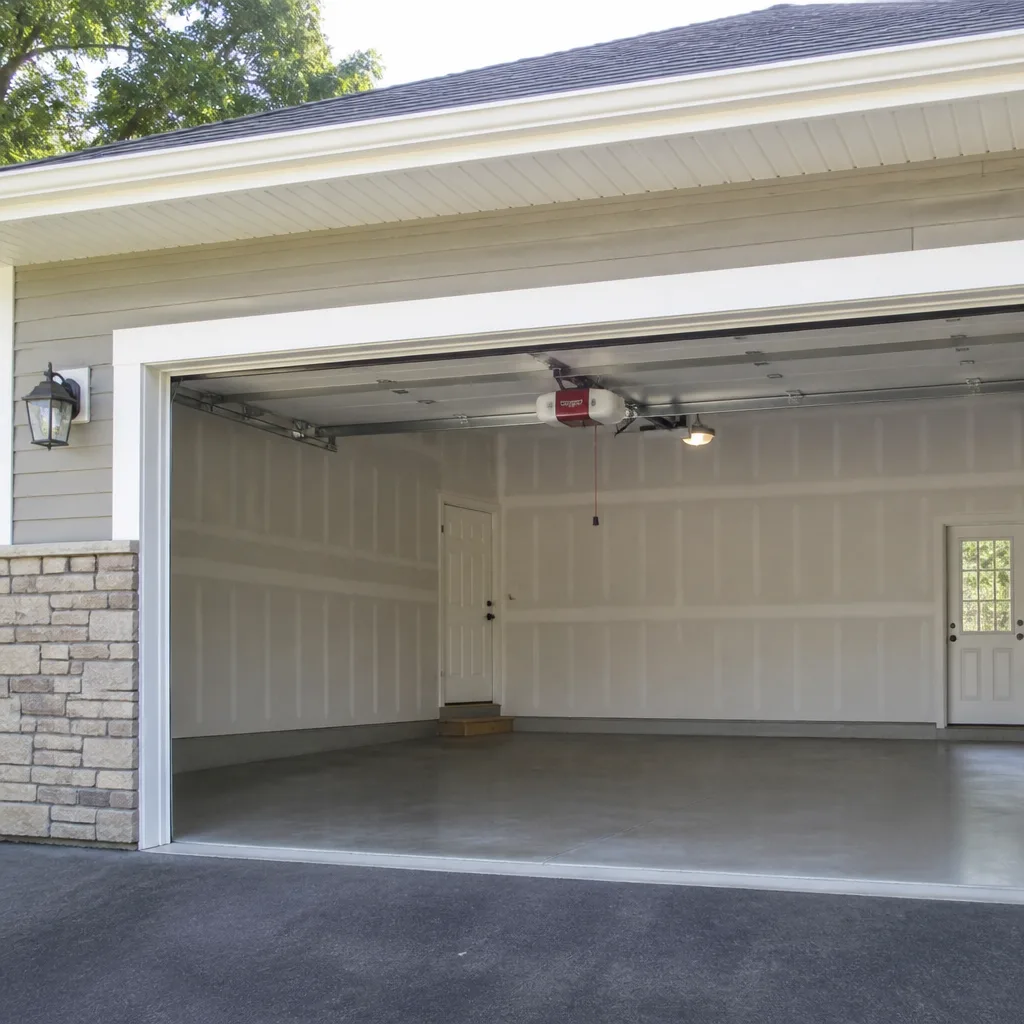 LiftMaster openers
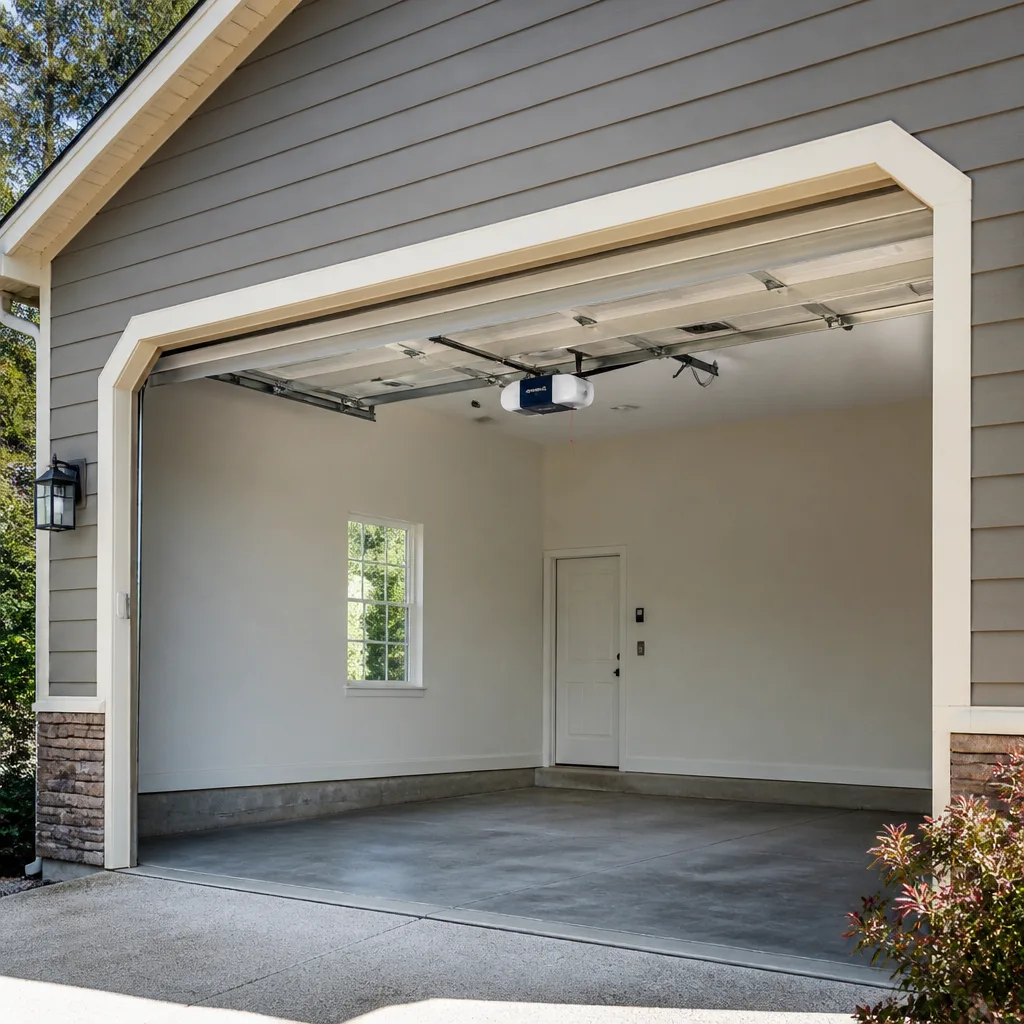 Chamberlain openers
Full 25-point door and opener safety check with every visit - springs, cables, rollers, tracks, and your LiftMaster or Chamberlain opener included
You get a price before we start. It does not change when the pro arrives.
Get your free estimateGarage Door Repair Maintenance Checklist for Norman Homeowners
Most maintenance checklists tell you to “inspect the springs.” That’s like telling someone to “check the engine.” It sounds responsible and tells you nothing. A spring that looks fine can be one cold morning away from snapping, and a cable that’s about to fail usually gives you a sound before it gives you a break. This checklist is built differently. Every item pairs a plain inspection step with what a bad result actually looks like, what it means, and how fast you need to act. You’ll finish knowing which problems can wait for a scheduled visit and which ones mean the door stays down tonight. We cover Norman conditions specifically, from ice storm aftermath to summer heat, plus the balance and force tests most homeowners have never heard of.
Quick Answer
A useful garage door maintenance checklist has three tiers: safety-critical items you check every month (springs, cables, rollers, the auto-reverse test), performance items you check seasonally (weatherstripping, bottom seal, track alignment, opener force), and cosmetic items you handle when convenient (paint, hinges that squeak, panel dents). In Norman, the schedule shifts around ice storms, summer heat, and heavy spring rain, so the calendar matters as much as the list. Anything involving springs or cables is a professional job, not a homeowner one.
Styles & brands we work with
- Raised-panel steel
- Carriage house
- Modern flush
- Full-view glass
- LiftMaster openers
- Chamberlain openers
Table of Contents
- The Three-Tier System: What’s Urgent and What Can Wait
- Your Monthly Five-Minute Walk-Around
- The Balance Test and Force Test Most Homeowners Never Run
- What a Worn Spring and a Failing Cable Actually Look Like
- Opener Checks by Drive Type: Belt, Chain, and Screw
- A Maintenance Calendar Built for Norman’s Seasons
- Weatherstripping, Bottom Seals, and Storm Recovery
- Common Mistakes to Avoid
- When to Call a Professional
- Frequently Asked Questions
The Three-Tier System: What’s Urgent and What Can Wait
Not every garage door problem deserves the same response. The tier system below tells you how fast to act, so you’re not panicking over a squeak or ignoring a cable that’s down to two strands.
Tier 1: Safety-Critical (Act Today)
These items involve stored mechanical energy or the door’s ability to stop on contact. A failure here can injure someone or let the door come down on a person or vehicle.
- Broken torsion or extension spring. The door won’t lift, or lifts a few inches and stops.
- Frayed or snapped lift cable. Visible broken strands or a cable hanging loose.
- Failed auto-reverse test. The door doesn’t reverse when it meets an obstruction.
- Door that won’t stay up when raised halfway by hand. This points to a spring or balance failure.
- Loose or pulled-out track brackets. The door can jump the track.
Stop using the door until a professional has looked at it. In our experience, the homeowners who get hurt are almost always the ones who decided to “try it one more time” after noticing a Tier 1 symptom.
Tier 2: Performance (Schedule Within a Few Weeks)
These problems degrade how the door works and can accelerate wear on Tier 1 components if left alone.
- Rollers that are flat-spotted, chipped, or grinding.
- A door that runs unevenly or shudders on the way down.
- An opener that strains, reverses randomly, or runs louder than it used to.
- Worn bottom seal or torn weatherstripping letting in air, water, or pests.
- Hinges that squeak or bind.
Tier 3: Cosmetic (Handle When Convenient)
Nothing here affects safety or function. Dented panels, faded paint, a scratched window insert, and a noisy but functional door all fall in this bucket. Address them when it’s easy, not because they’re urgent.
Your Monthly Five-Minute Walk-Around
Five minutes once a month catches most problems before they escalate. Do this with the door closed first, then run it. None of these steps require tools or a ladder.
- Look at the springs. On a torsion system, the spring is the horizontal coil above the door. On an extension system, they run along the tracks. Look for visible gaps in the coil, a stretched look, or rust bleeding through. A gap means the spring has broken or is about to.
- Look at the cables. Run your eyes down both sides of the door with it closed. Cables should be taut and clean, with no frayed strands, kinks, or slack.
- Check the rollers. Rollers sit in the hinges along the side of the door. Look for cracks, flat spots, or wobble. Worn nylon rollers sound like gravel in a can; steel rollers squeal.
- Test the auto-reverse. With the door open, place a roll of paper towels or a 2×4 flat on the ground under the door and close it. The door should reverse on contact. If it doesn’t, that’s Tier 1.
- Test the photo-eye safety sensors. Wave your hand in front of the sensors near the floor on each side. The door should not close when they’re blocked. If the door closes anyway, the sensors need attention.
- Look at the weatherstripping and bottom seal. With the door closed, check for daylight under the bottom seal or gaps at the sides. Any light coming through is air, water, or pests coming in.
- Listen. Run the door and just listen. Grinding, popping, banging, or a sudden change in pitch are all worth a closer look, and often the first sign of a roller or bearing issue.
Most of what goes wrong with garage doors gives you signs before it fails. The walk-around is how you catch them.
The Balance Test and Force Test Most Homeowners Never Run
These two tests are the best early-warning system a homeowner has, and almost nobody knows they exist. Both are done by hand with the opener disengaged, and both tell you something the door can’t tell you when it’s running under power.
The Balance Test
- Close the door, then pull the red release handle that hangs from the opener trolley. This disconnects the door from the opener so you’re lifting it by hand.
- Raise the door about halfway and let go. A balanced door stays put or drifts only slightly. A door that drops or flies up is out of balance.
- Lower the door fully and re-engage the trolley by running the opener until it clicks back in.
An out-of-balance door means the springs are no longer carrying their share of the load. The opener is doing work the springs should be doing. That’s hard on the opener motor and it’s a warning that the springs are wearing out.
The Force Resistance Test
With the door closed and the opener engaged, press the wall button to start the door up, then gently press down on the door’s leading edge with the palm of your hand as it rises. The door should stop and reverse. If it keeps going against your hand, the opener’s force setting is too high, or the door has a bind the motor is overpowering.
Both tests are safe to perform and neither requires tools. What they don’t tell you is why the door is out of balance or binding, and that’s where a diagnosis comes in. If either test fails, the next call is to a professional who can see what’s actually wrong.
If your balance test fails or your door stops mid-cycle, it’s usually a spring or opener problem, and both are routine for us. We handle garage door repair and garage door opener repair as separate diagnostics, so you get an answer about which system is actually failing.
What a Worn Spring and a Failing Cable Actually Look Like
Springs and cables carry the door’s full weight, and they’re the components we’re most often called about. Here’s what to look for, in plain language.
Worn Torsion Springs
- A visible gap in the coil. The clearest sign. Torsion springs break in one place and produce a distinct gap of an inch or more.
- A stretched look. The coil gaps open up even if there’s no full break. A spring with open gaps along its length is on its last legs.
- Rust bloom. Surface rust is normal in Oklahoma; deep pitting is not. Pitting weakens the wire.
- A door that lifts a few inches and stops hard. The classic sign a torsion spring has gone.
Worn Extension Springs
- A stretched spring that hangs below the door’s guides.
- Missing or damaged safety cables. Extension springs need a safety cable running through the center so a broken spring can’t fly.
- A door that slams down hard when raised partly and released.
Failing Cables
- Broken strands. Look at the cable down both sides of the door. Even one broken strand is a sign the cable is failing.
- A kink or curl. A cable that has jumped its drum will show a kink or a bend.
- A slack cable. If the cable is loose with the door closed, it’s off its drum.
- A popping or twanging sound during operation. A cable about to let go often announces itself first.
Safety note: Springs and cables are under very high tension, and a wound torsion spring can release violently without warning. Never touch, adjust, or try to wind a spring yourself – a broken torsion spring can cause serious injury even to experienced hands. Anyone who tells you to wind the spring yourself is telling you to risk a hand or worse. This is a job for a trained professional with the right winding bars and a healthy respect for the load. We recommend you leave this one alone and call.
Opener Checks by Drive Type: Belt, Chain, and Screw
Most openers we see in Norman are one of the major brands – LiftMaster, Chamberlain, Genie, or Craftsman – and the checks below depend on which drive type you have. You can usually tell in a glance: a steel chain means chain drive, a rubber belt means belt drive, and a threaded steel rod running the length of the rail means screw drive.
Belt-Drive Openers
- Look for wear on the belt. A belt that’s stretched, shiny, or fraying is nearing the end of its service life.
- Re-tension if the belt rides loose. A loose belt whines, slaps against the rail, and can slip. Follow the adjustment steps in your opener’s manual.
- Check the belt runs smooth. If it hops or shimmies, the belt or the rail may need adjustment.
Belt drives are the quietest option and the most common on newer installs. Their weakness is the belt itself, which ages with temperature swings.
Chain-Drive Openers
- Lubricate the chain sparingly. A chain drive wants a light application of chain lubricant once or twice a year. Too much attracts dust and grit.
- Check for sag. The chain should have a small amount of slack but shouldn’t hang far below the rail. Adjust per your manual.
- Listen for rattles. Chain drives are naturally louder than belt drives, but a new rattle means something’s loose or worn.
Screw-Drive Openers
- No lubrication required on the screw itself. Screw drives are self-lubricating, but a dry or noisy screw can mean the drive is worn.
- Watch for metal shavings. Metal filings in the trolley area mean the screw and trolley are wearing against each other.
- Listen for a grinding noise. That’s usually the trolley or the screw. A creeping grind means it’s time to look at the opener itself.
Whatever the drive type, the same safety tests apply: auto-reverse on obstruction, and working photo-eye sensors. If your opener’s actuator or safety sensor needs work, or the whole unit is failing, we handle that as a garage door opener repair call. If it’s the door that’s failing and not the opener, it’s a door problem, not an opener problem.
A Maintenance Calendar Built for Norman’s Seasons
Generic “check in spring and fall” advice misses what actually stresses a garage door in Norman. The calendar below is built around the conditions you’ll actually see, not a national checklist.
Spring (March to May): Storm Recovery and Pre-Heat Check
- After any ice or high-wind storm, check weatherstripping and the bottom seal for tears and gaps, and look at the door’s bottom panel for dents from wind-driven debris.
- Lubricate rollers, hinges, and the springs’ bearing plates before temperatures climb, so they run smoothly through the summer.
- Run the balance test – springs that survived the winter are still worth checking.
- Check the bottom seal after heavy rain, especially if your driveway apron slopes toward the door. Water pooling at the threshold pushes on the seal and finds any weakness fast.
Summer (June to August): Heat and Dust
- Lubricate the door’s moving parts again. Heat dries out lubricant and makes components stiff.
- Check the opener’s force setting. As heat expands the door’s components, a marginal opener setting can cause random reversals.
- Clean dust and grit out of the opener rail area. Blowing dust gets in and grinds.
Fall (September to November): Pre-Winter Prep
- Test the auto-reverse and photo-eyes. Cold weather is when a failing door or opener is most likely to cause trouble.
- Check weatherstripping and the bottom seal again. This is the check that keeps winter cold out and keeps your energy bills down.
- Listen to the door for new noises. A cold snap makes existing problems more audible.
Winter (December to February): Ice and Cold
- After ice storms, clear the bottom seal and weatherstripping of ice. Frozen ice can tear the seal as the door moves.
- Don’t force the door if it’s frozen to the ground. Break the bottom seal free with your hand, with the opener off, before you press the button.
- Check the springs on the coldest mornings. Cold steel is more brittle, and a worn spring is most likely to go on the first cold snap.
This calendar is built for the conditions homeowners in Norman actually live with. Adjust around your own garage’s exposure to sun and wind.
Weatherstripping, Bottom Seals, and Storm Recovery
The bottom seal and weatherstripping don’t just keep the garage dry. They’re also the first line of defense against wind-driven rain, insects, and winter cold, and after a storm they’re the part of the system most likely to have quietly failed.
What a Failing Bottom Seal Looks Like
- Visible daylight under the door with it closed, especially at the corners.
- A flattened, cracked, or missing rubber seal. A seal that’s gone hard and flat no longer closes against the floor.
- Water staining or standing water inside the threshold after heavy rain.
- Visible gaps at the sides where the door doesn’t sit flush.
After an Ice or Wind Storm
- Clear ice, snow, and debris from the door’s threshold and from the bottom seal before you run the door.
- Check the weatherstripping along the sides and top for tears or sections pulled loose.
- Look at the bottom seal for tears and impacts from debris.
- Run the door slowly and listen for new sounds or a scraping bottom seal.
- Look at the door’s bottom panel for dents or deformations that could catch on the threshold.
Storm damage is often something a homeowner can spot themselves but can’t fix. A torn bottom seal is worth replacing, not touching up with tape, and that’s a routine repair for a specialist.
Common Mistakes to Avoid
- Skipping the auto-reverse test because it seems to work. A door that closes fine can still fail to reverse when it hits something. Test it monthly, not once.
- Lubricating the wrong parts. A dose of grease on a screw-drive rail or an over-lubricated chain attracts grit and shortens the opener’s life. Stick to the points your manual names.
- Touching the springs to “adjust” them. A wound torsion spring can release violently. Leave it to a trained professional.
- Assuming an out-of-balance door is “just a door thing.” A balance test failure almost always points at the springs, and it’s the opener that pays the price while you wait.
- Ignoring a new sound. A new squeak, pop, or grind is the door telling you something’s wearing. Address it early, before it becomes a Tier 1 failure.
- Only checking for problems when the door stops working. The balance and force tests take two minutes and catch problems weeks or months before the door stops.
- Choosing the wrong opener or door for the job once it’s time to replace. Buying the same budget model that just failed is a common mistake. If your opener’s shot or your door’s had it, a specialist can look at the rest of the system and tell you what will actually last.
When to Call a Professional
Call us when any Tier 1 item fails, when the balance or force test fails, or when a new noise, a bent track, a failed opener, or a torn bottom seal turns up. If your door’s a Wayne Dalton, an Amarr, a Raynor, a Craftsman, or any other major brand, we work on the brand you already have, and we can tell you whether a repair is the right call or whether replacement is the smarter investment. Our technicians have up to 11 years of experience, and we cover repair, garage door opener repair, and new installation as three separate service lines, so one call covers it. Millbrook Garage Door Repair offers free estimates in Norman – call (866) 942-8099.
Frequently Asked Questions
Run the short monthly walk-around once a month, and the longer seasonal checks (weatherstripping, bottom seal, opener force) at the start of spring, summer, fall, and winter. The balance and force tests take two minutes and are worth doing monthly alongside the walk-around. Norman’s ice storms and summer heat mean the schedule isn’t optional if you want to catch failures early.
We strongly recommend against it. A wound torsion spring carries enough stored energy to cause serious injury if it releases unexpectedly, and even experienced hands take precautions. Call a trained professional. This is one of the few jobs where the risk is genuinely high and the reward is low.
Watch for random reversals, a door that stops partway, a grinding or straining sound, or an opener that runs but doesn’t move the door. Any of these points to the opener, not the door, and we handle that as a separate diagnostic. If you’re not sure which system is failing, we can tell you within minutes of looking.
Usually a sharp pop or twang during operation just before it lets go, though sometimes the first sign is a visible broken strand or a kink in the cable itself. Check your cables monthly and call if you see either. A cable that’s let go is a Tier 1 problem – stop using the door.
It depends on the door’s condition and the cost of the repair versus what you’d gain. A single bad roller or worn bottom seal is almost always worth repairing. Multiple failing panels, a bent track, and an aged opener together usually point toward replacement. We can assess both and tell you which actually makes sense for your door.
It’s a two-minute check you do by gently pressing down on the door as it rises to make sure it stops on contact with an object. If the door keeps going, the opener’s force setting is too high or the door is binding. Both are worth a professional look, so call if the test fails.
The Bottom Line
A maintenance checklist is only useful if it tells you what to do with what you find. The three-tier system tells you whether a problem is a stop-using-the-door issue, a schedule-it issue, or a tackle-it-when-you-can issue. The balance and force tests give you two minutes of detection that catches most failures weeks early. And a Norman-specific calendar, built around ice storms, summer heat, and heavy rain, keeps you one step ahead of the weather. Run the walk-around every month, run the safety tests, and leave the springs and cables to a specialist. When something does come up, one call covers repair, opener service, and installation.
Call (866) 942-8099 for a free estimate. We answer 24/7. Fast dispatch from 7am to 7pm, Sunday through Friday. Millbrook Garage Door Repair is here for every stage of your door’s life, from the first squeak to a full replacement. Whether your garage door is a Clopay, a Wayne Dalton, or another major brand, our team works on the system you already have and gives you an honest answer about what it needs.
Written by the team at Millbrook Garage Door Repair.
See the difference
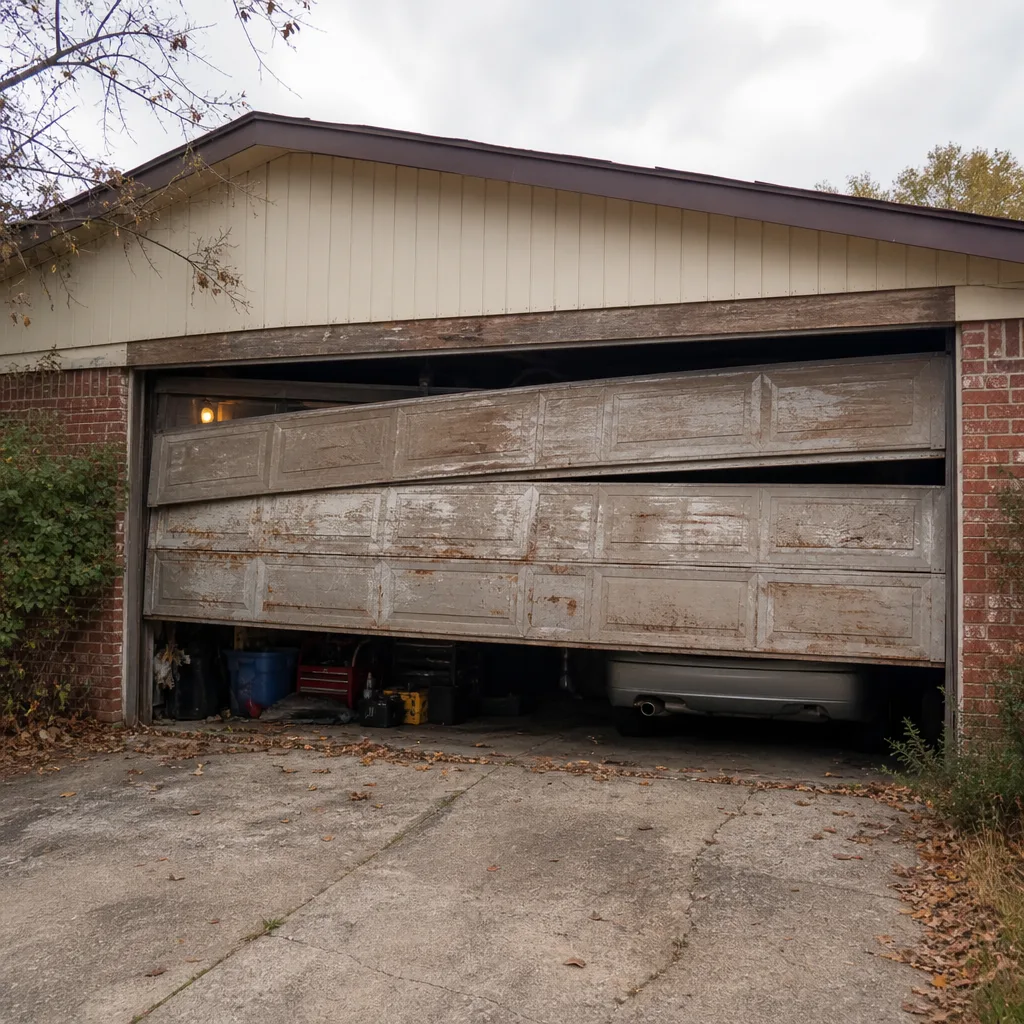 Before
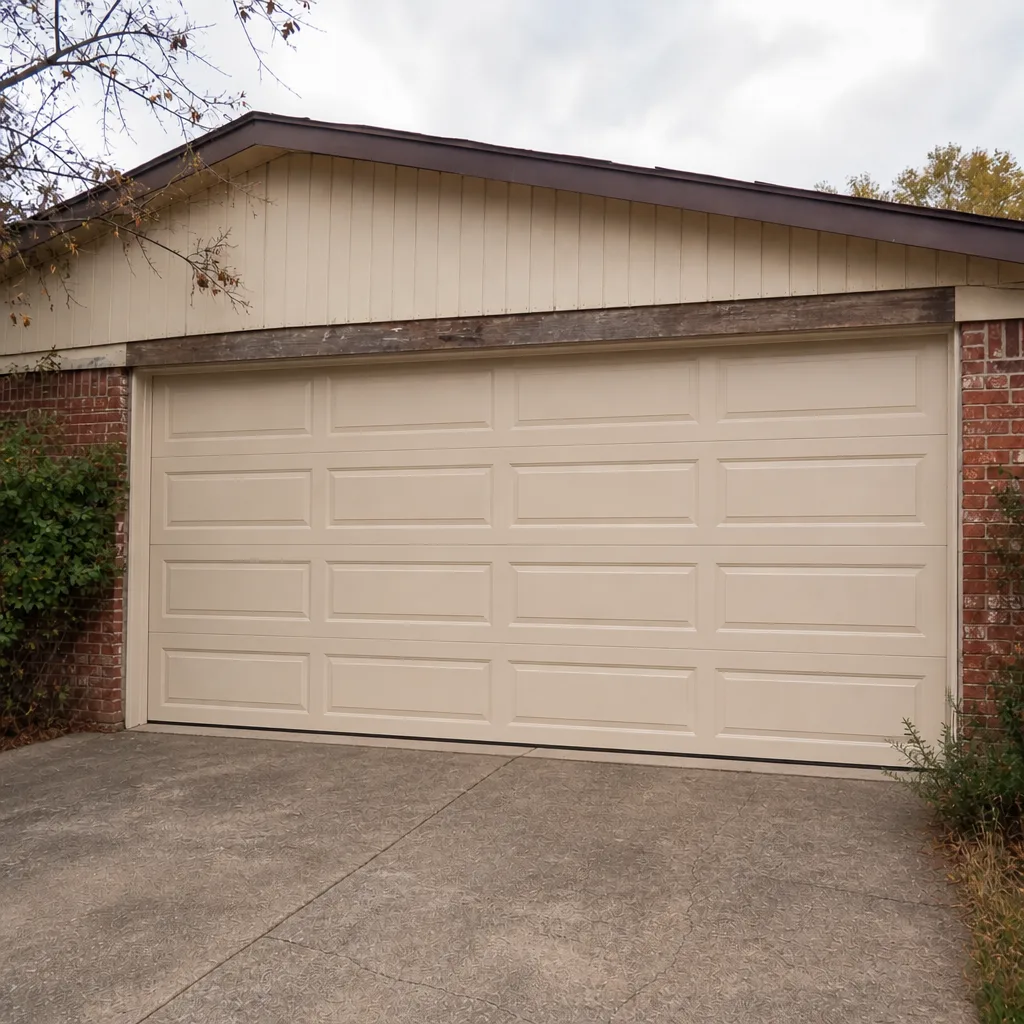 After
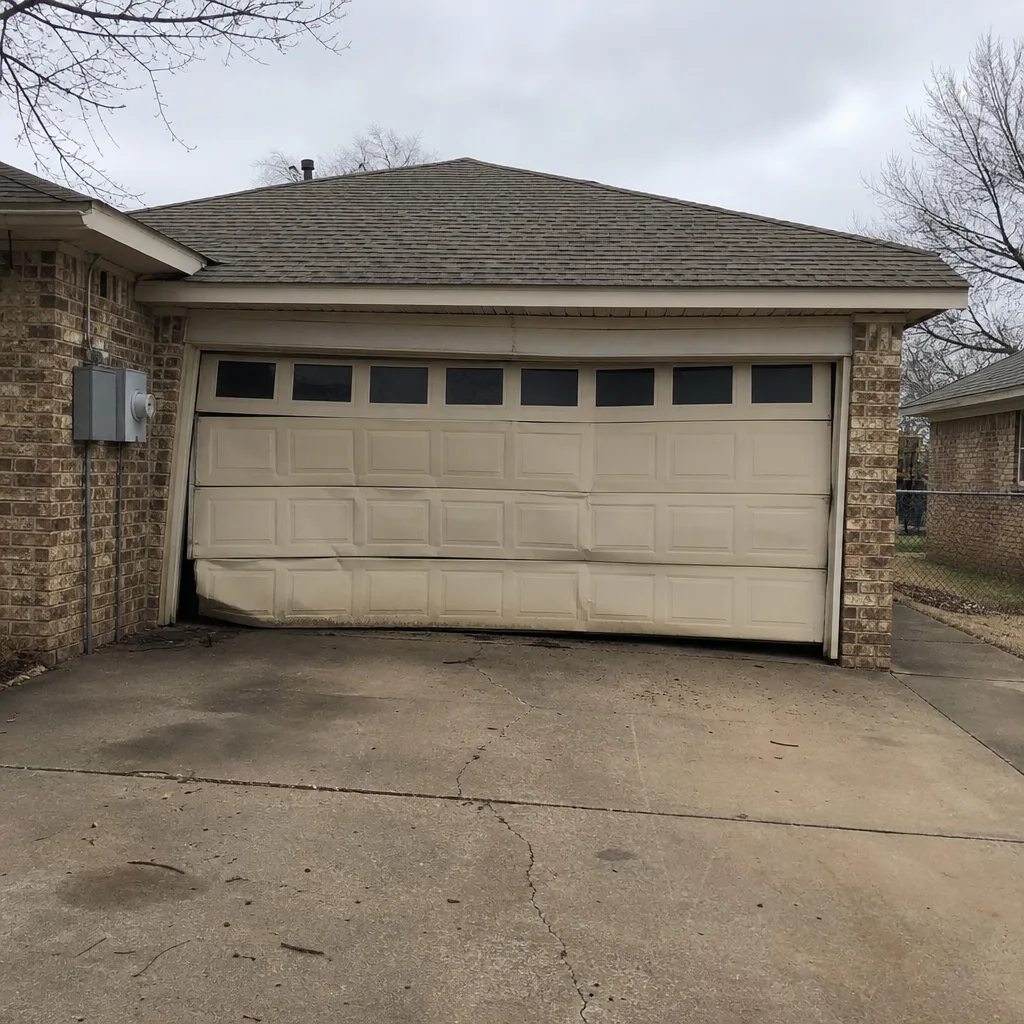 Before
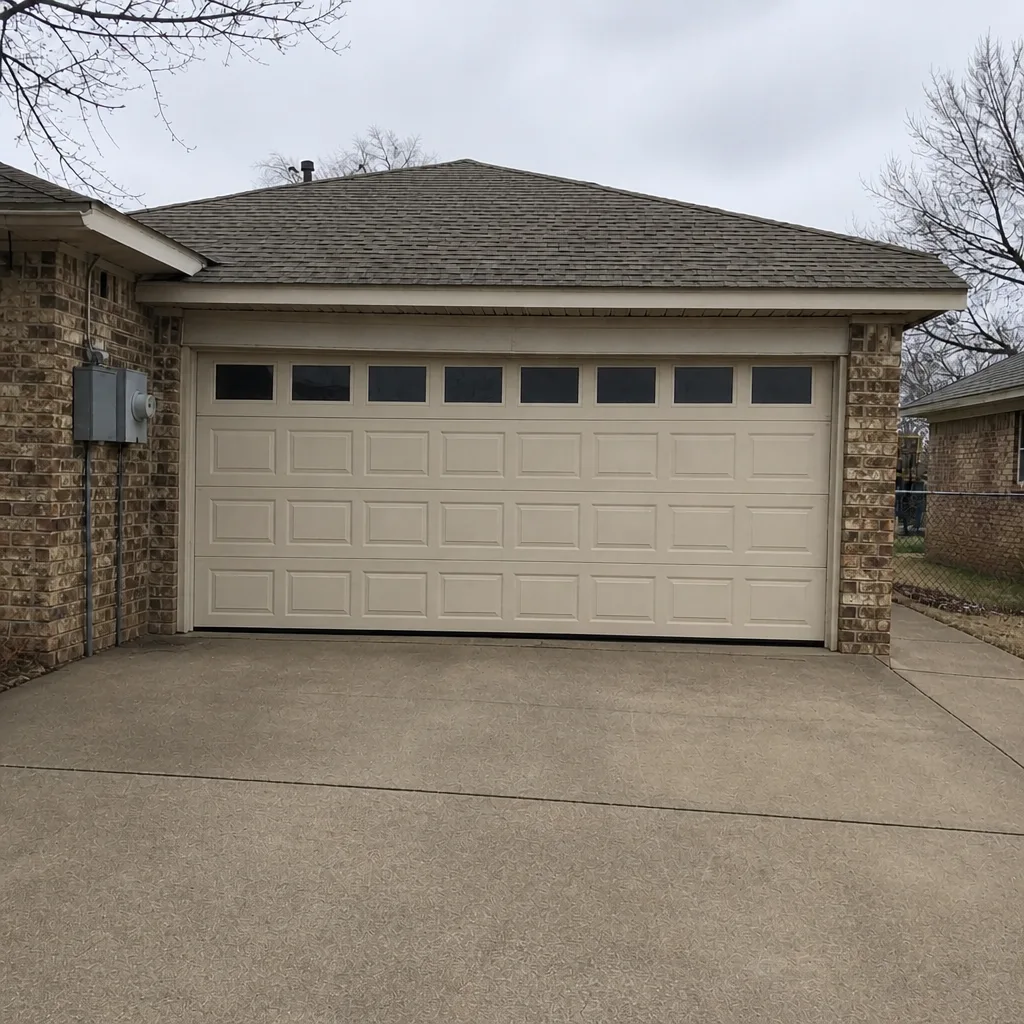 After
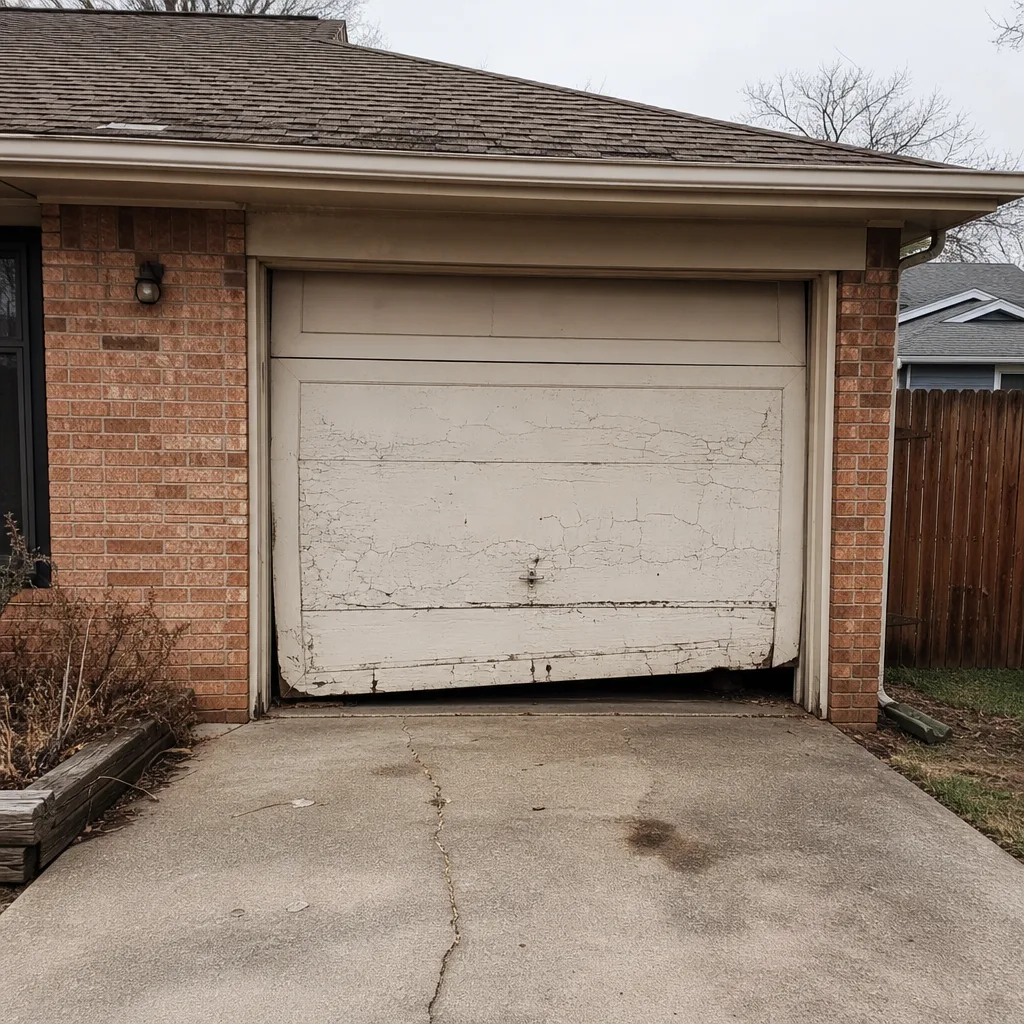 Before
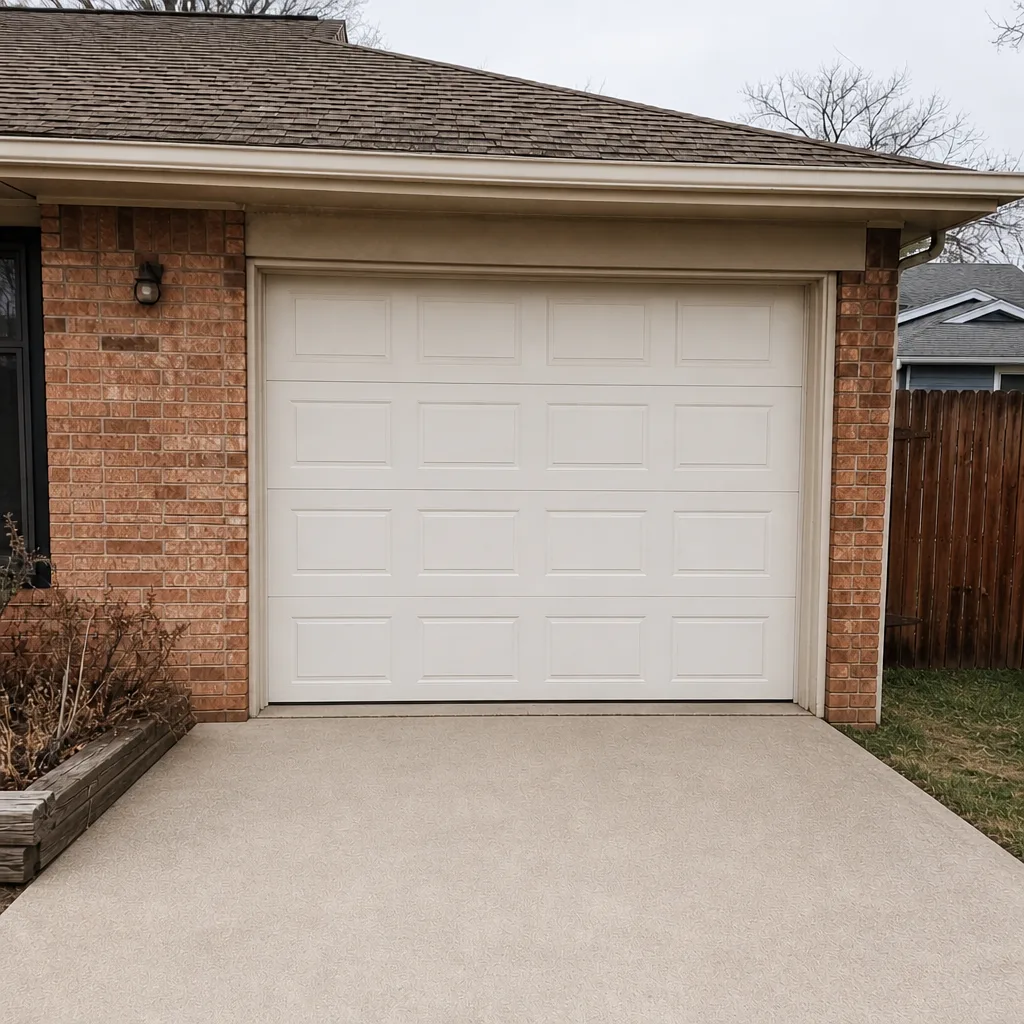 After